Why would I need this?
You may need to allow access to your client area for your developer or accounts team etc, this is how you do that safely.
Examples of this might be:
- Giving access to a developer or colleague to view and create support tickets on your behalf
- Allowing your accounts representative to login, view and pay invoices
- Give full access to your business partner
Accessing user management
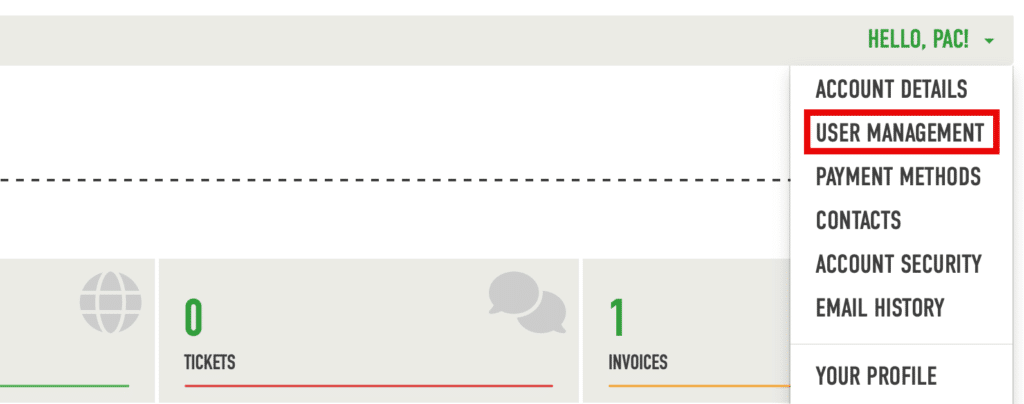
Once logged in please choose User Management from the menu as shown
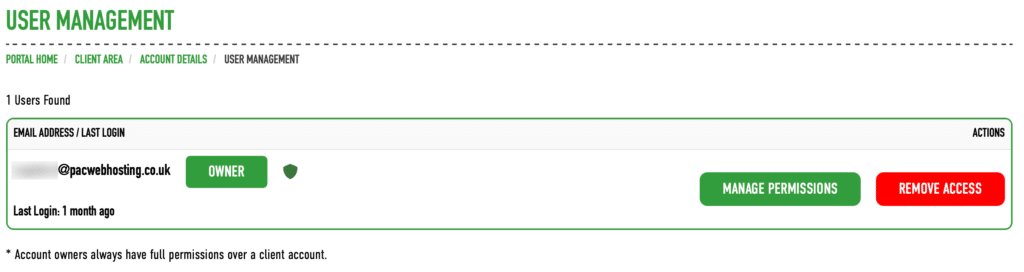
View your current user list
You can now see and edit users with yourself as the owner.
Invite a new user
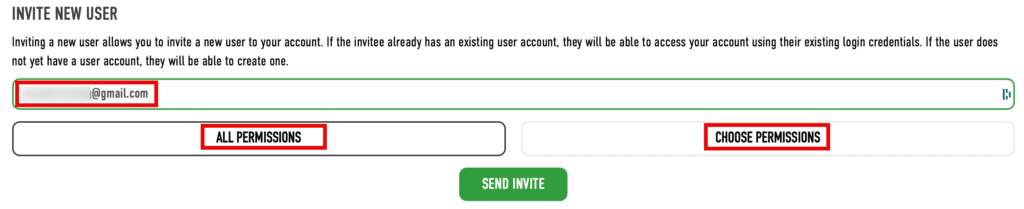
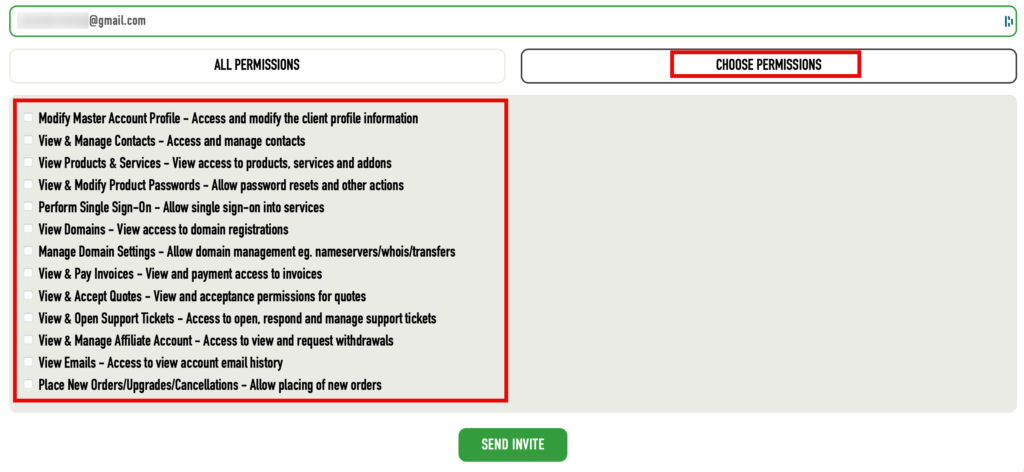
To invite a new user you need to enter their email address and then select either “All Permissions” or “Choose Permissions”
All permissions
If you are assigning full permissions then you just need to click Send Invite now and they will be sent an invite to create a login in our system and that’s all you need to do.
Choosing permissions
If you click choose permissions you will be presented with a list of possible permissions you can choose from, see below for common selections.
Once you have chosen your permissions click Send Invite and you’re done.
Example permissions
Accounts team
- View Products & Services
- View & Pay Invoices
- View & Accept Quotes
- View & Open Support Tickets
Developer (to obtain support)
- View & Open Support Tickets
Developer (to obtain support and seamlessly sign into your hosting control panel)
- View Products & Services
- Perform Single Sign on*
- View & Open Support Tickets
Removing/Editing users
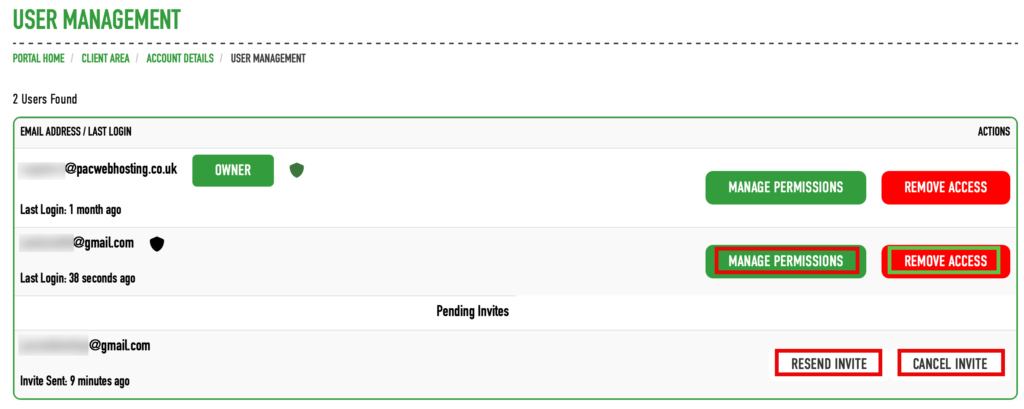
If you need to make any changes or remove an existing user then you can do that from the current user list.
You can manage permissions and remove access for users who have accepted your invite.
For users who have not yet accepted you can resend the invite or cancel it entirely.